
I used part of our recent warm stretch of days to work on a seed starting project. I’m hoping to try out a variety of seed starting containers this year to see how they compare. The first one is a seedling flat. They’re super easy – my current building level – and apparently they’re one of the most reliable growing containers, so I have high hopes.
This is just a wood frame with wooden slats glued and nailed across the bottom, so there aren’t really specific dimensions necessary, but here are some ranges to work with if you want to make some.
- Overall size: In the The New Seed Starter’s Handbook, Nancy Bubel recommends not making them larger than 14″ x 18″ because you’d need extra bracing. We made ours 11.25″ x 17.25″ to accommodate the shelf unit we’re using for the purpose*. We also used this YouTube video for reference, especially on materials:
- Height: Most store bought flats have about a 2.5-3″ tall frame. We went with a 2.75″ height to fall somewhere in between. (Too tall and they could block light from the seedling and waste potting soil along with making it too heavy. Not tall enough means you’d have to move them to bigger pots too soon.)
- Materials: I used two 1 x 4 x 8 furring strips and two 8′ plank panels. We were able to get three seedling flats out of that. (If you were on a tight budget, you could probably recycle a clean pallet for most or all of that, you’d just want to make sure it said “HT” meaning Heat Treated, so you could be sure it wasn’t full of chemicals.)
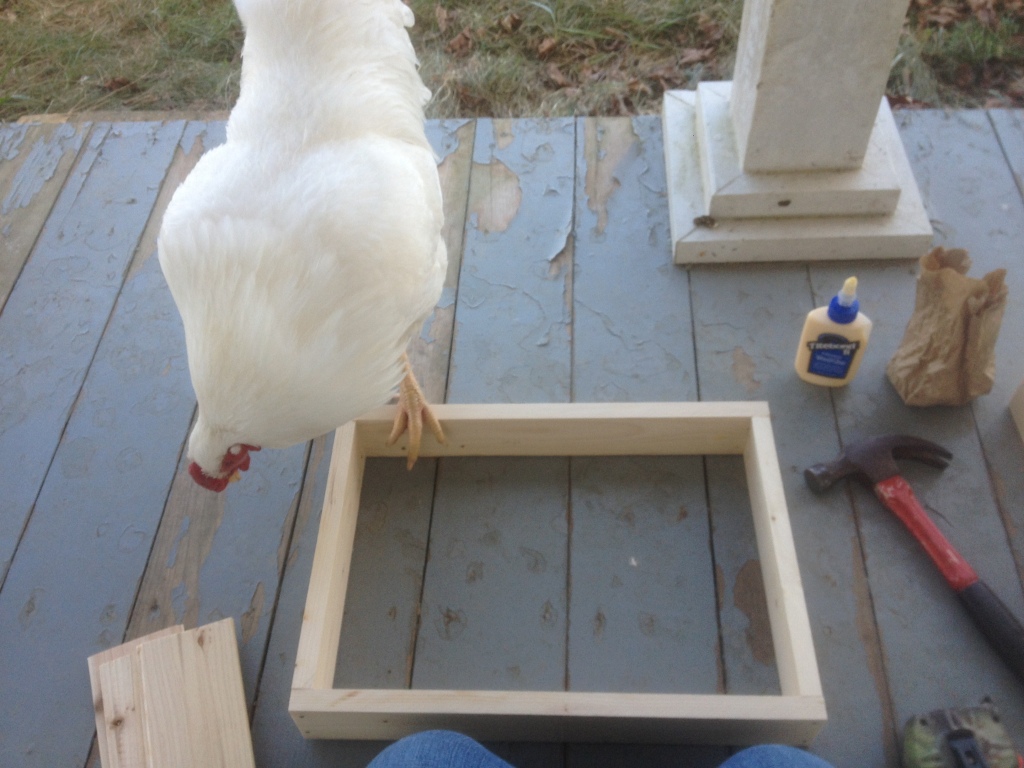
Once I had my materials, I cut my frame from the furring strip with a table saw and ripped the pieces to a width of 2.75″. Then I cut the plank paneling into 9 boards each 17.25″ long. After that, the rest is just glueing and nailing. And fending off Eustace, who fancies himself a carpenter.

I applied wood glue to the edges of my short sides and nailed the long sides into them. The short sides go on the inside so I can attach your bottom panels to them. The bottom panels should be spaced about 1/8-1/4″ apart from each other for drainage and glued/nailed to the frame, like in the picture below.

